
Uncategorised
The Decontamination Cycle – Disinfection
In the dental decontamination cycle, disinfection is a bridging step between cleaning and sterilisation. It is commonly misunderstood and often conflated with cleaning – they
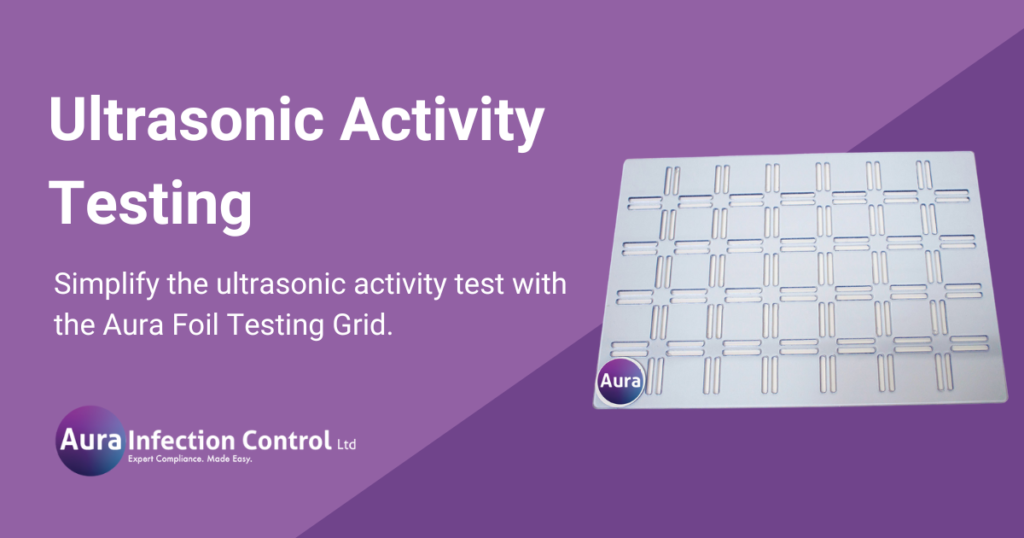
The ultrasonic activity test is a quarterly validation check for ultrasonic baths. The test is a check for consistent cleaning action (cavitation) across the bath.
Ultrasonic baths clean using a process known as cavitation. At the bottom of the bath are devices called transducers which produce sound waves. These waves cause the formation of bubbles on instruments placed in the bath, these bubbles then implode. These microscopic implosions create a scrubbing effect, removing dirt and cleaning the instruments. Ultrasonic baths are particularly effective at cleaning hinged instruments which can be difficult to clean manually.
The cleaning activity of the bath should be consistent across the entire bath. It is however possible for a transducer to fail, causing an inconsistent cleaning action in the bath. The ultrasonic activity test is used to detect any issues with the cleaning activity
The ultrasonic activity test is traditionally performed by creating a 3 x 3 grid over the bath using masking tape. Aluminium foil is then suspended from the grid into the bath and an ultrasonic cycle is run.
Once the cycle is completed, the strips are dried and inspected. The foil strips should all show consistent erosion, indicating the ultrasonic activity is uniform across the bath. If one or more strips is markedly different, then this can indicates the cleaning activity is not consistent across the bath and can indicate a problem with the ultrasonic cleaner.
Creating the 3 x 3 grid can be a fiddly, time consuming and frustrating task. That’s why we created the Aura Foil Testing Grid.
With pre-cut marks you can easily attach your foil strips to the grid, removing the need for fiddly masking tape grids. It also improves repeatability of the test as you can mark where your foil should go for future uses.
The foil test kit comes with Grid, a roll of ablation foil specifically designed for the foil test, and a log book to log your result.
1. Fill bath with water to desired level, add required level of chemical additive and degas as per manufacturer’s instructions.
2. Create a 3×3 masking tape grid so 9 equally spaced testing points can be identified. Ensure all traces of water are removed to ensure the masking tape adheres to the bath firmly. Often a strip of tape is needed to place around the circumference of the grid to hold the masking tape grid in place.
3. Use a ruler to measure the depth of the tank from the level of the testing grid to the bottom of the bath. To calculate the Foil Strip Length (FSL) to use take 1cm off this measurement. Make a note of this strip length for future reference
4. Cut 9 strips of foil to 5cm longer than the Foil Strip Length and add a paper clip to the bottom of each. This 5cm excess is to hold the strip in place when it is stuck to the masking tape.
5. Mark each strip with a number from 1-9.
6. Stick each foil strip to the masking tape at the correct intersection.
7. The paperclip at the bottom of the foil strip should be no more then 10mm above, but not touching the bottom of the bath.
8. Cover the bath to reduce the risk of aerosol exposure.
9. Turn the bath on for cycle time.
10. Remove the strips ready for inspection and lay on paper towels.
11. Inspect and record result, stick foil strips in log book and complete page.
1. Fill bath with water to desired level, add required level of chemical additive and degas as per manufacturer’s instructions.
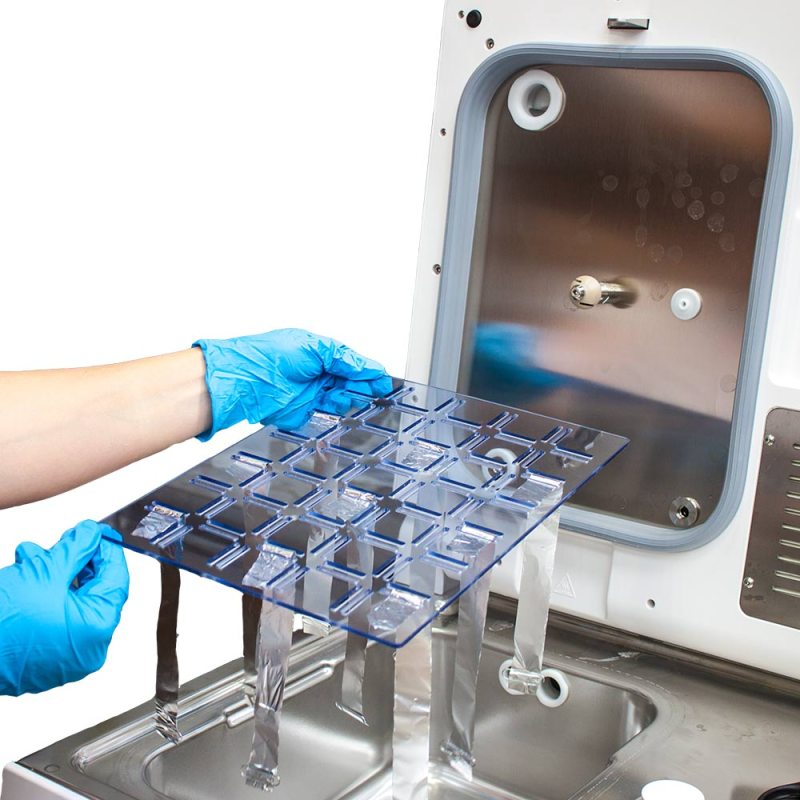
2. Align the grid on the bath so 9 equally spaced testing points can be identified (3×3 Grid), mark these with your marker on the grid.
3. Use a ruler to measure the depth of the tank from the level of the testing grid to the bottom of the bath. To calculate the Foil Strip Length (FSL) to use take 1cm off this measurement. Make a note of this strip length for future reference (You could write it on the edge of the testing grid).
4. Remove the grid and place on a flat surface.
5. Cut 9 strips of foil to 5cm longer than the Foil Strip Length and add a paper clip to the bottom of each. The 5cm excess is to hold the strip in place when it is bent over the grid intersections.
6. Mark each strip with a number from 1-9.
7. Suspend the 9 strips from the testing grid by wrapping the foil around the grid intersections as necessary.
8. The paperclip at the bottom of the foil strip should be no more then 10mm above, but not touching the bottom of the bath.
9. Place the prepared grid back over the bath. The grid being in place provides “cover” to reduce the risk of aerosol exposure.
10. Turn the bath on for cycle time.
11. Remove the strips ready for inspection and lay on paper towels.
12. Inspect & record result, stick foil strips in log book and complete page.
13. Test grid should be wiped with appropriate non-alcohol wipe such as Plastisept Eco and dried with a non linting cloth.
In the dental decontamination cycle, disinfection is a bridging step between cleaning and sterilisation. It is commonly misunderstood and often conflated with cleaning – they

Dental Handpieces are a critical tool used in routine and complex dental treatments. Inside the head of a high-speed handpiece, a turbine the size of